
Picking the right screen recording tool feels simple until you're staring at a dozen options, each promising professional results with minimal effort. For educators building lesson libraries and creators producing tutorials on tight schedules, that decision carries real weight. Desktop software can be powerful, but it often brings installation friction, version conflicts, and steep learning curves. Browser-based recording tools are changing that equation fast. This article breaks down the core selection criteria, key platform integrations, a side-by-side feature comparison, and practical guidance on when browser recording is the smarter choice.
Table of Contents
- Why choose browser-based recording: Core selection criteria
- Seamless integration with popular platforms
- Efficiency and simplicity for fast content creation
- Comparing browser and desktop recording: Features and limitations
- When to choose browser-based recording: Practical scenarios
- A creator's perspective: The real-world edge and hidden tradeoffs
- Get started with efficient browser-based recording
- Frequently asked questions
Key Takeaways
| Point | Details |
|---|---|
| Instant cloud integration | Browser-based tools let you save, share, and post directly to platforms like Google Drive or Classroom. |
| Zero installation required | You can start recording immediately with nothing to install or update on your device. |
| Best for quick lessons | Short tutorials or feedback videos benefit most from browser-based tools’ speed and efficiency. |
| Know the limits | Advanced cursor effects and long, high-res recordings are still better handled by desktop apps. |
Why choose browser-based recording: Core selection criteria
Choosing a recording tool is not just about hitting the record button. The right tool fits your workflow, keeps your content moving, and does not slow you down with technical hurdles. For content creators and educators, a few criteria matter most.
Here is what to evaluate when comparing browser-based options:
- Ease of access. Can you start recording in under a minute, from any device, without downloading anything?
- Workflow simplicity. Does the tool handle recording, light editing, and exporting in one place?
- Integration support. Does it connect directly to platforms you already use, like Google Drive or your LMS?
- Output quality. Does it produce clear, professional video without heavy post-production?
- Privacy and storage. Where does your footage live, and who can access it?
The usability advantages of web-based recording become clear when you stack these criteria against traditional desktop software. Browser tools skip installation entirely, which means no version conflicts, no admin permissions, and no waiting. You open a tab and go.
Collaboration matters too. When you record a tutorial and need to share it with a class or a remote team, cloud-based sharing removes the bottleneck of manual file transfers. Tools like Screencastify and Loom offer Google Drive/Classroom integration that makes sharing instant and organized.
Pro Tip: Look for tools that offer one-click upload to Google Drive or Google Classroom. It saves several steps per video and keeps your content library organized without extra effort.
Simplicity is the real competitive advantage here. The fewer decisions you have to make between hitting record and publishing your content, the more energy you have for the content itself.
Seamless integration with popular platforms
Once you know what criteria to seek, seamless platform integration stands out as a key browser-based edge. For educators especially, the ability to send a finished video directly to a classroom platform without downloading, renaming, and re-uploading files is a genuine time-saver.
Leading browser-based recorders have built these connections into their core workflows. Here is what strong integration looks like in practice:
- Google Classroom. Record a lesson, share the link directly to an assignment, and students access it immediately.
- Google Drive. Auto-save recordings to a specific folder, keeping your content organized without manual sorting.
- LMS platforms. Some tools support direct embedding or link sharing into Canvas, Schoology, and similar systems.
- Social platforms. Export-ready formats for YouTube, LinkedIn, and other channels reduce post-production steps.
The educator-friendly sharing built into tools like Screencastify and Loom reflects a clear understanding of how teachers actually work. They do not have time to manage file exports between lessons.
"The biggest time-saver for educators is not the recording itself. It is everything that happens after. Tools that handle distribution automatically give teachers back hours every week."
For content creators outside education, the same logic applies. If you produce weekly tutorials or product demos, automating the handoff from recording to publishing removes friction from every single video. That adds up fast across a content calendar.
The practical result is that you spend more time on your message and less time on file management. That shift in focus is where browser-based tools deliver real, measurable value.
Efficiency and simplicity for fast content creation
Besides integration, efficiency is where browser-based solutions shine for content creators on tight deadlines. The ability to go from idea to finished recording in minutes is not a small thing. It changes how you approach content entirely.
Here is how a typical browser-based recording session works:
- Open your browser. No installation, no login to a desktop app, no waiting for updates.
- Launch the recorder. Click the extension icon or open the web app. Select your capture area: tab, window, or full screen.
- Record your content. Narrate, demonstrate, or present. Most tools show a live preview so you stay on track.
- Stop and review. Trim the start and end if needed. Add a title or annotation if the tool supports it.
- Export or share. Send directly to Drive, download as MP4, or copy a shareable link.
That entire process can take under two minutes for a short tutorial. Browser tools match desktop quality at lower resource cost for short sessions, which means your computer stays responsive while you record.

Pro Tip: Use browser-based tools for quick feedback videos and one-take presentations. They are ideal for async communication where speed matters more than cinematic polish.
The absence of setup friction also reduces the mental barrier to recording. When starting a video feels easy, you record more often. That consistency is what builds a strong content library over time. For educators, it means capturing lessons in the moment rather than scheduling dedicated production sessions.
Comparing browser and desktop recording: Features and limitations
With the fundamentals explained, see how browser and desktop solutions stack up for real-world use cases.
| Feature | Browser-based | Desktop app |
|---|---|---|
| Installation required | No | Yes |
| Startup time | Under 1 minute | 1 to 5 minutes |
| Platform integration | Strong (Drive, LMS) | Varies by app |
| Output quality (short) | High | High |
| Output quality (long/4K) | Limited | Excellent |
| Cursor tracking/zoom | Tab-only | Full screen |
| Stability for long sessions | Moderate | High |
| Privacy (local processing) | Varies | Usually strong |
| Cost | Often free or low | Mid to high |
The table tells a clear story. Browser tools win on accessibility and integration. Desktop apps win on depth and stability for demanding projects.
There are real technical reasons for the browser limitations. Cursor tracking and zoom features are restricted outside browser tabs due to JavaScript security constraints. Native desktop apps have direct access to system events, which is why they can track cursor movement across your entire screen and apply zoom effects anywhere.
"For polished product demos that require full-screen cursor effects and multi-app capture, browser tools hit a ceiling. That ceiling is a security feature, not a flaw."
For long or high-resolution sessions, desktop apps remain the stronger choice. Browser-based tools can struggle with stability during extended recordings or when capturing at 4K resolution.
Knowing these limits helps you make the right call for each project. Not every video needs desktop-level power. Many do not.
When to choose browser-based recording: Practical scenarios
A clear head-to-head comparison sets the stage for practical user guidance. Knowing the features is useful. Knowing when to apply them is what actually improves your workflow.
Use browser-based recording when:
- You need to record a quick tutorial or feedback clip and share it within minutes.
- You are working in a school or organization where installing software requires IT approval.
- Your content lives in Google Classroom, Drive, or a cloud-based LMS.
- You are recording short explainers, walkthroughs, or async responses under 15 minutes.
- You want a lightweight setup that works on any device without configuration.
Avoid browser-based tools when:
- Your tutorial requires capturing multiple applications simultaneously across your full desktop.
- You need 4K output or long-form recordings over 30 minutes with consistent stability.
- Your project demands advanced cursor effects, animated zoom, or multi-track audio editing.
- You are producing a polished product demo that will be used in high-stakes sales or marketing.
A hybrid approach works well for many creators. Use a browser tool for quick, frequent content like weekly tips or student feedback. Reserve your desktop app for quarterly product walkthroughs or course launch videos that need the extra production quality.
The key insight is that browser-based recording is not a compromise. For the right use cases, it is the more efficient choice. Matching the tool to the task is what separates productive creators from those stuck in over-engineered workflows.
A creator's perspective: The real-world edge and hidden tradeoffs
Browser-based recording tools have done something important for content creation: they removed the gatekeeping. A few years ago, producing a clean tutorial video required software licenses, hardware upgrades, and editing skills. Now an educator with a Chromebook and a browser extension can publish a professional-looking lesson in under ten minutes.
That democratization is real and worth celebrating. But there is a tradeoff that does not get discussed enough. Simplicity has a ceiling. When you optimize a tool for ease of use, you inevitably limit what advanced users can do with it. The creator who wants precise zoom controls, multi-track audio, and custom cursor effects will hit that ceiling fast.
The honest advice is this: do not let the simplicity of browser tools make you underestimate your own needs. Start there. Most short-form content does not need more. But as your production quality goals grow, be ready to add a desktop tool to your kit. The best creators use both, matching the tool to the job rather than committing to one approach for everything.
Get started with efficient browser-based recording
You now have a clear picture of where browser-based recording excels and where its limits are. The next step is putting that knowledge to work with a tool built around the criteria that matter most.
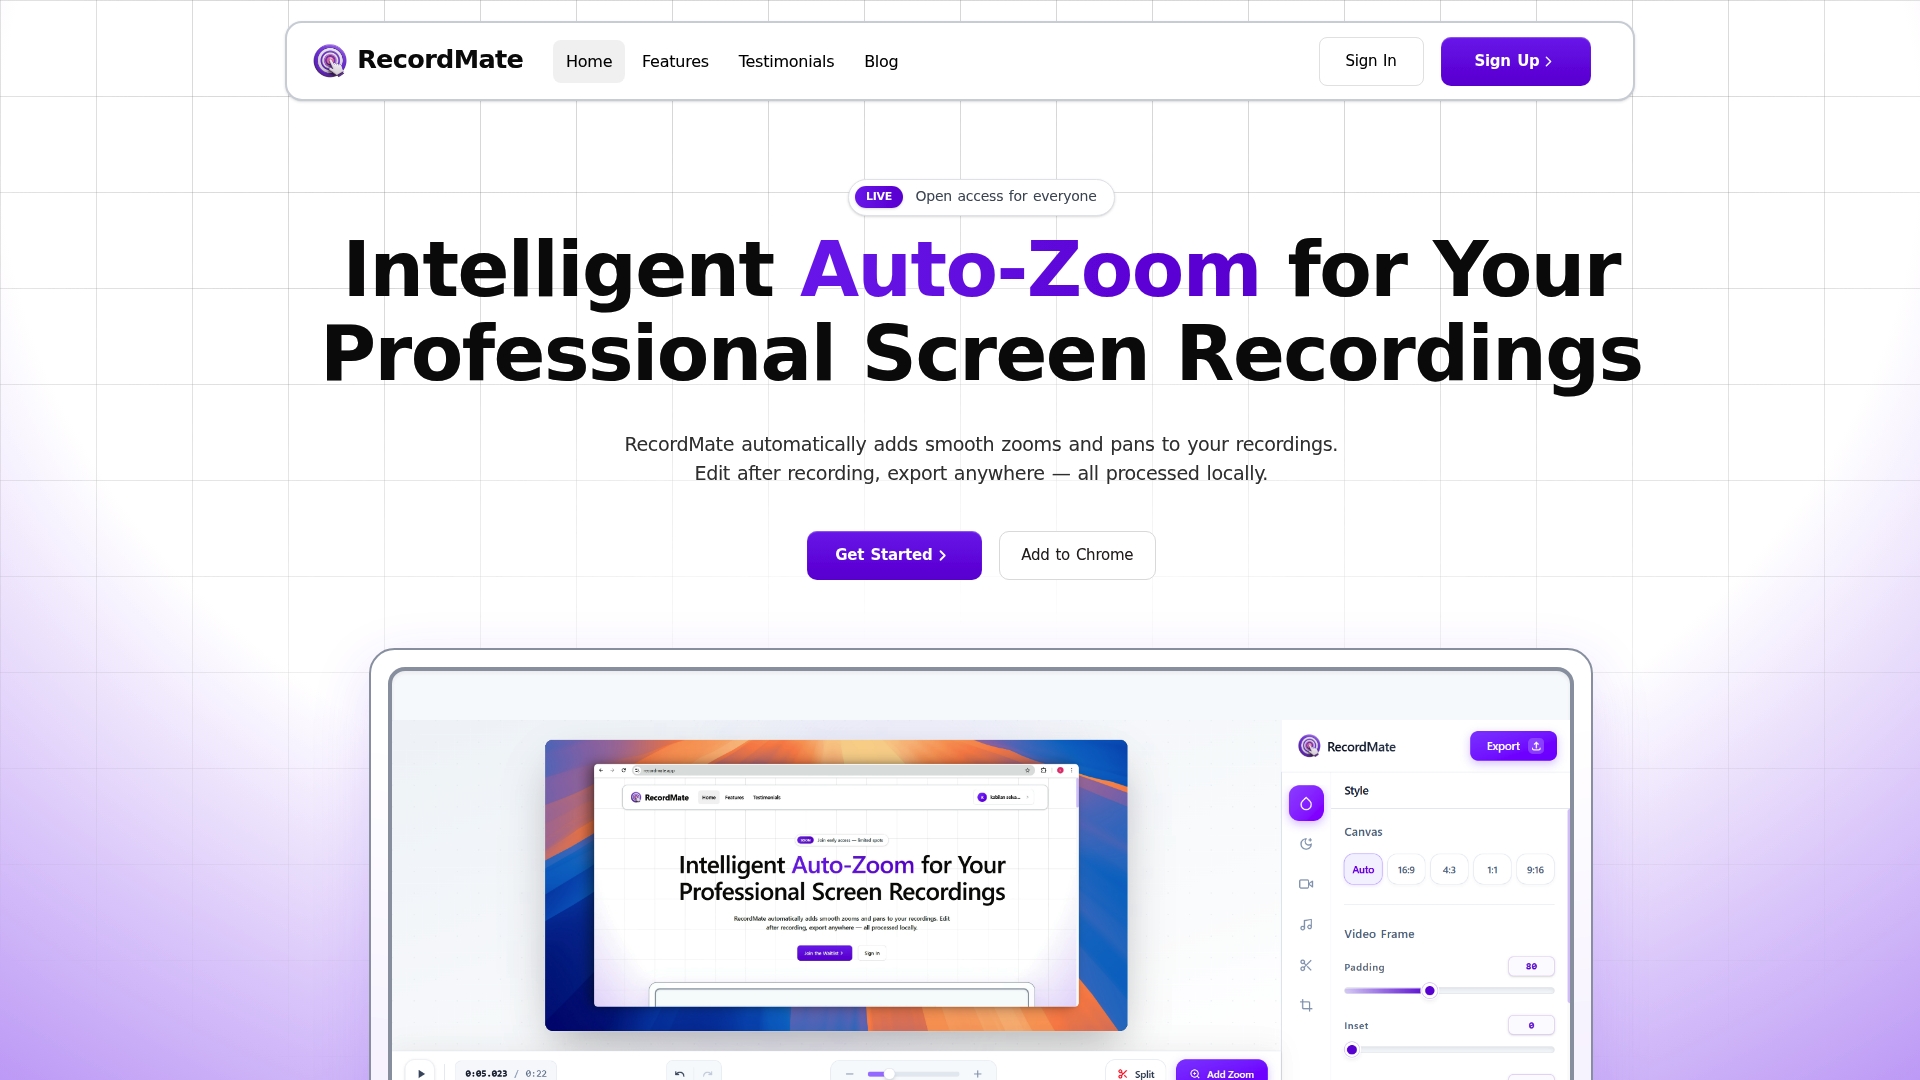
RecordMate is a browser-based screen recorder designed for creators and educators who want professional results without the production overhead. It handles recording, editing, and exporting in one place, with automatic intelligent zoom that follows your cursor so your tutorials always look polished. Everything processes locally on your device, keeping your content private. Try the screen recorder with auto-zoom and see how fast you can go from idea to finished video.
Frequently asked questions
Are browser-based recording tools secure for sensitive content?
Most leading tools use encryption and offer local processing, but always review privacy policies before recording sensitive material.
Do browser screen recorders require software installations?
No, they work directly in your browser without downloads, making setup fast and hassle-free.
Can I record outside my browser window?
Most browser-based tools are limited to capturing within browser tabs. JavaScript security restrictions prevent cursor tracking and zoom features from working outside the browser environment.
When should I use desktop software instead?
Choose desktop recorders for advanced effects or long, high-resolution sessions. Desktop apps are favored for longer or high-res screencasts where stability and output quality are critical.