You just finished recording a 20-minute tutorial. Now you're staring at raw footage full of pauses, wrong clicks, and awkward silences. Turning that into a clean, professional video can eat up hours of your week. The good news is that modern tools and smarter workflows have changed this completely. AutoZoom delivers a 9-10x faster workflow compared to traditional editing methods, and that kind of speed is now within reach for any creator. This guide walks you through everything: the right setup, a clear editing process, tool comparisons, and how to avoid the mistakes that slow most people down.
Table of Contents
- What you need before you edit: Tools, requirements, and setup
- Step-by-step process: Editing your screen recordings efficiently
- Comparing common approaches: Fast cuts, manual edits, and AI shortcuts
- Troubleshooting and common editing mistakes
- What most editing guides miss: Why workflow matters more than tools
- Ready to edit smarter? Try RecordMate's auto-zoom and workflow tools
- Frequently asked questions
Key Takeaways
| Point | Details |
|---|---|
| Right tool matters | Choosing the best screen recording software dramatically reduces editing time. |
| Workflow is key | A repeatable workflow saves more time than any single feature or editor. |
| AI powers speed | Modern AI tools enable much faster editing while keeping quality high. |
| Avoid common pitfalls | Check each step, save often, and use templates to minimize errors. |
What you need before you edit: Tools, requirements, and setup
Before you touch a single frame, you need the right foundation. Jumping into editing without the right tools or a clear goal wastes time and leads to frustrating restarts.
Start with your software type. There are three main categories to know:
- Full editors like Camtasia offer deep control, transitions, and annotations. Great for polished courses.
- Quick-cut tools like Loom let you trim and share fast. Best for async team updates or short demos.
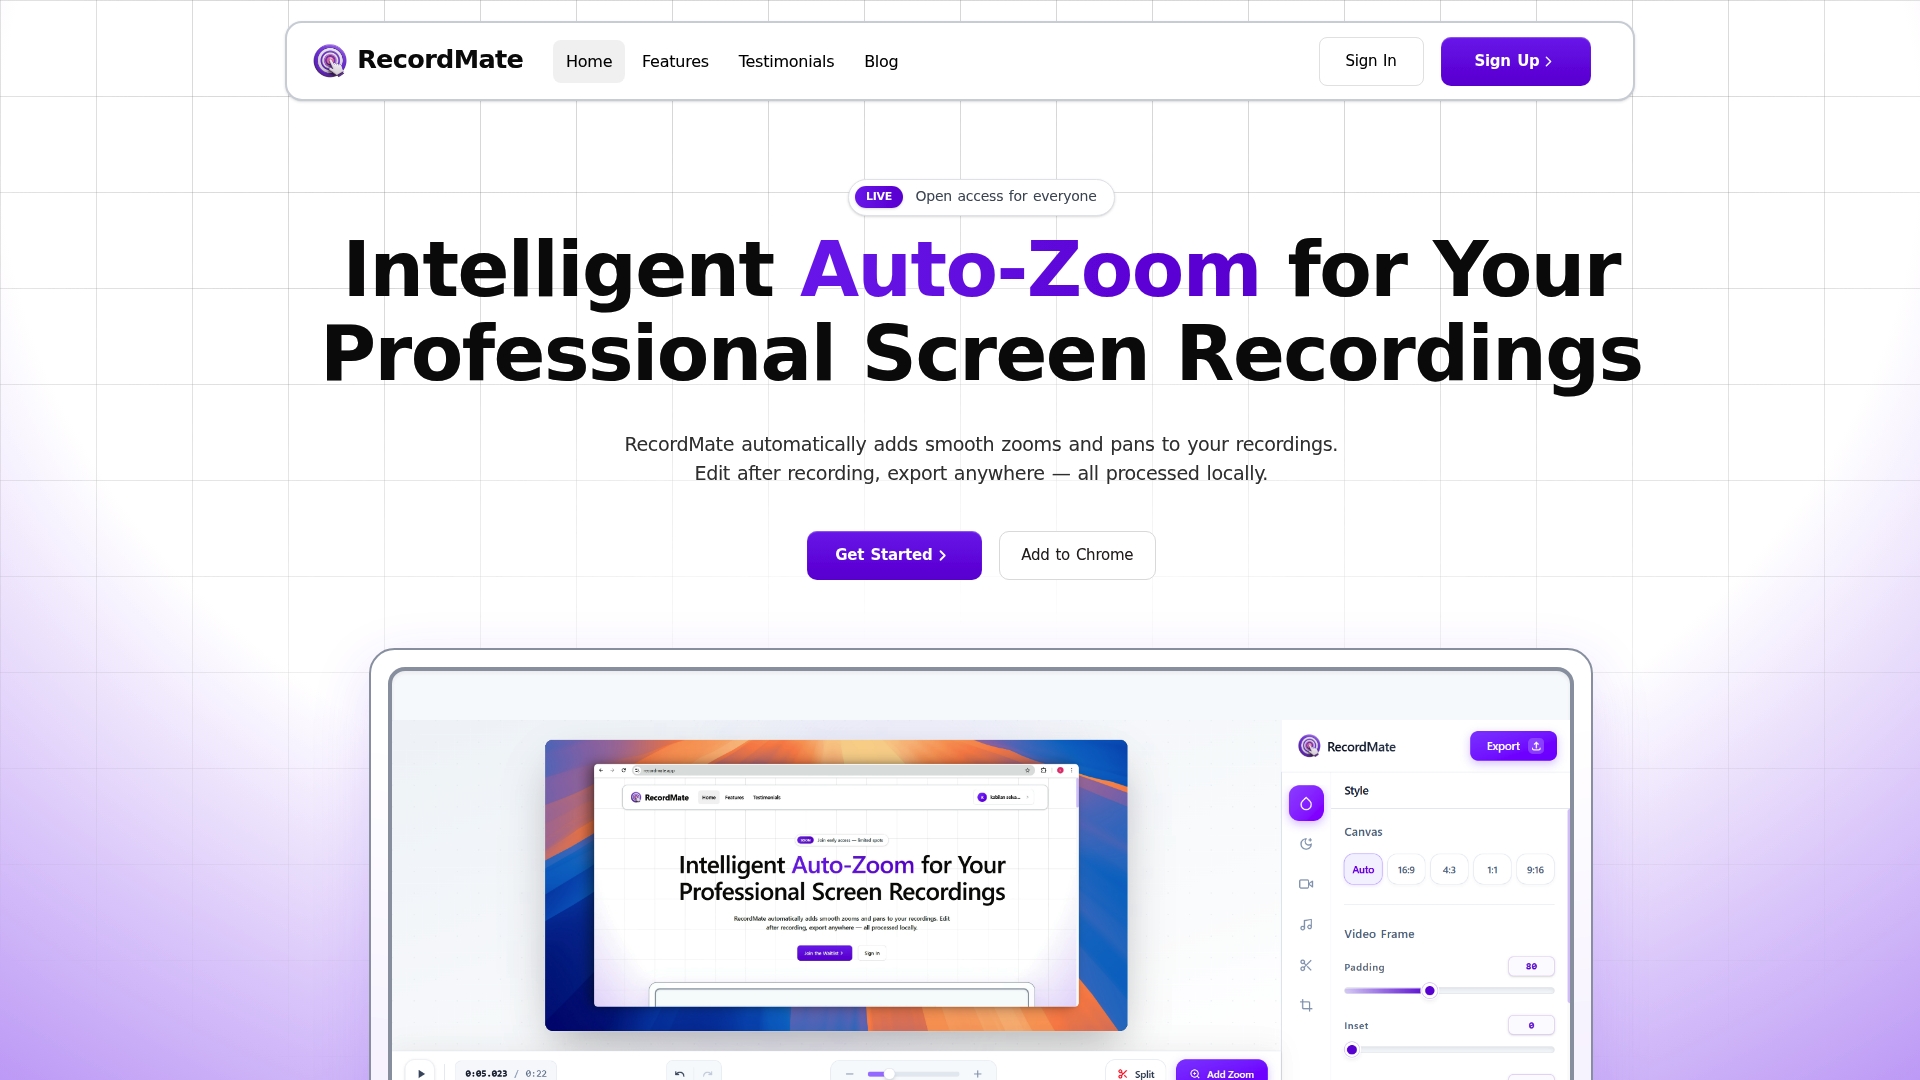
- AI-powered solutions like RecordMate automate the heavy lifting, including zoom, panning, and background cleanup.
On the hardware side, prioritize a CPU with at least 4 cores and 16GB of RAM for smooth playback and rendering. A decent USB microphone makes a bigger difference than most creators expect. Bad audio kills viewer retention faster than shaky video.
For your workflow setup, record in a consistent resolution (1080p is the standard) and keep your files organized in labeled folders by project and date. This sounds basic, but it saves real time during editing.
Here's a quick comparison of top recording software options based on speed and features:
| Tool | Editing speed | Auto-zoom | Best for |
|---|---|---|---|
| RecordMate | Very fast | Yes (AI-powered) | Tutorials, demos |
| Camtasia | Moderate | Manual | Course creators |
| OBS | Slow (raw output) | No | Streamers, advanced users |
| TimeBolt | Fast | No | Silence removal |
| Loom | Very fast | No | Quick async sharing |
AutoZoom, Camtasia, OBS, and TimeBolt each serve different needs, so matching the tool to your project type is step one.
The RecordMate screen recorder handles recording, editing, and export in one place, which removes the need to juggle multiple apps.
Pro Tip: Decide upfront whether your goal is speed (get it done fast) or maximum polish (course-quality production). That single decision will guide every tool and step you choose.
Step-by-step process: Editing your screen recordings efficiently
With everything set up, you're ready to move through the editing process itself. Follow these steps in order and you'll cut your editing time significantly.
-
Import your recording. Drag your file into your editing environment. If you recorded with RecordMate, your footage is already in the editor. Rename your clips clearly before you start cutting.
-
Trim the start and end. Remove the first few seconds where you're clicking around before you begin, and cut the tail end after you finish. These are the easiest wins.
-
Remove filler content. Use auto-detect silence removal if your tool supports it. TimeBolt AI editing is 5.5x faster than tools like Gling or Descript for this step. Manually split and delete sections where you repeated yourself or made obvious errors.
-
Add zoom and callouts. Highlight key moments with zoom effects. Tools with auto-zoom editing features do this automatically by tracking your cursor. Manual zoom requires you to set keyframes, which takes more time but gives you more control.
-
Layer in audio enhancements. Normalize your voiceover volume, add background music at a low mix level, and remove background noise if needed.
-
Export for your platform. YouTube works best at 1080p, 30fps, H.264. LMS platforms often prefer MP4 under a specific file size. Match your export settings to where the video will live.
Always preview your full edit after major cuts. A single dropped sentence can remove critical context and confuse your viewer completely.
Pro Tip: Build a reusable export preset and an intro/outro template. Once these are saved, you apply them in seconds instead of rebuilding them every time.
Batch editing is another underused time-saver. If you're producing a series, apply the same color grading, music, and lower-third templates across all episodes at once.
Comparing common approaches: Fast cuts, manual edits, and AI shortcuts
You followed the core steps. Now let's make sure you're choosing the right editing approach for every project, because not every video needs the same treatment.
There are three main approaches:
Quick/async editing is for speed. You trim, add a title card, and share. Tools like Loom are built for this. No color grading, no fancy transitions.
Manual editing gives you full creative control. You use a timeline editor, set every zoom manually, and fine-tune every cut. This takes the most time but produces the highest polish.

AI-powered editing closes the gap between the two. AutoZoom shows higher completion and satisfaction rates compared to manual workflows, and the market for AI editing tools continues to grow fast.
| Approach | Editing time | Polish level | Best use case |
|---|---|---|---|
| Quick/async | 5-15 min | Basic | Team updates, quick demos |
| Manual | 2-5 hours | High | Paid courses, client work |
| AI-powered | 15-45 min | High | Tutorials, social content |
Strengths and weaknesses at a glance:
- Quick tools: Fast and easy, but limited customization. Output can look unpolished for professional audiences.
- Manual editing: Maximum control and quality, but time-intensive. Not sustainable for high-volume creators.
- AI tools: Quick tools for speed handle simple edits, while AI closes the quality gap without the time cost. Best balance for most educators.
If you want to streamline your screen recordings without sacrificing quality, AI-powered tools are the most practical choice for regular publishing schedules.
Match the approach to your goal. A quick internal walkthrough doesn't need the same treatment as a flagship course module.
Troubleshooting and common editing mistakes
Even experienced creators run into the same problems. Here's how to spot and fix them quickly.
The most common editing mistakes:
- Out-of-sync audio and video after trimming
- Abrupt cuts that confuse the viewer
- Missing context because a step was deleted
- Inconsistent zoom levels that feel jarring
- Exporting at the wrong resolution or frame rate
Troubleshooting guide:
- Audio out of sync: Detach your audio track and nudge it forward or back by a few frames. Most editors let you do this with a simple drag.
- Abrupt cuts: Add a 2-3 frame crossfade or a short dissolve transition. It softens the edit without looking overdone.
- Missing context: Re-watch the section before and after every cut. If the viewer would be confused, add a short caption or re-record a bridging line.
- Jarring zoom levels: Set a consistent zoom percentage for your callouts (150% works well for most tutorials) and stick to it throughout the video.
- Wrong export settings: Check your platform's recommended specs before every export. Common tool issues often come from mismatched codec or bitrate settings.
Preventing these errors going forward:
- Use a pre-edit checklist before you start cutting
- Keep your timeline organized with labeled color-coded clips
- OBS is free and powerful but its raw output needs careful post-production attention. Camtasia offers higher quality output but has a steeper learning curve. Know which tradeoffs you're accepting before you record.
- Test your audio levels before recording, not after
Pro Tip: Save a new draft file at each major editing milestone. If something goes wrong after a big round of cuts, you can roll back without losing everything.
What most editing guides miss: Why workflow matters more than tools
Here's something worth saying plainly: most creators waste time debating tools when the real problem is workflow. You can have the best editor on the market and still spend four hours on a ten-minute video if your process is inconsistent.
The creators who finish projects two to three times faster than average aren't using secret software. They've built a repeatable system. They record in the same resolution every time, keep their file structure identical across projects, and use the same templates for intros, outros, and callouts.
Features like auto-zoom and batch silence removal only save time when they're part of a consistent routine. Used randomly, they just add steps.
The uncomfortable truth is that workflow structure saves more time than any tool upgrade. Before you switch software again, ask yourself: do you have a clear, repeatable process from record to export? If not, that's where to start. Build the habit first. Then optimize the tools around it.
Ready to edit smarter? Try RecordMate's auto-zoom and workflow tools
You now have a clear process: set up right, edit in order, pick the right approach for each project, and fix mistakes before they compound. The next step is putting it all into practice with a tool built specifically for creators like you.
RecordMate auto-zoom screen recorder handles recording, intelligent cursor-following zoom, voiceover mixing, background customization, and multi-format export in one place. Everything runs locally on your device, so your content stays private. No complex timeline. No switching between apps. Just record, refine, and export. Start your first project today and see how much faster your workflow can be.
Frequently asked questions
What is the fastest way to edit a screen recording?
AI-powered editors offer the fastest results. AutoZoom delivers 9-10x faster editing speeds compared to traditional manual tools while maintaining professional quality output.
Should I use a free tool like OBS or upgrade to a paid editor?
OBS is free, low CPU usage, and powerful, but it requires significant post-production work. Paid editors deliver faster, more polished results with built-in features that save time on every project.
What's the best way to add zoom or highlight effects in tutorials?
The most efficient option is an editor with built-in auto-zoom that tracks your cursor automatically. AI tools automate zoom and motion effects for fast, professional-looking results without manual keyframing.
How can I avoid common editing mistakes in screen recordings?
Preview your edit after every major round of cuts, save incremental draft files, and use consistent templates for repetitive elements like intros and callouts. These three habits eliminate most common errors before they reach your final export.